No I didn't spell that wrong, this entry is on a fireplace mantel for the Batdad Cave. This was one of the toughest projects both from a time and a complexity level but it is also one of the most rewarding. One of the things that makes it so difficult is finding the starting material. I started with the trunk of a neighbor's apple tree that she had cut down. The trunk was about 140 cm (~4.5 ft) long and had a diameter of 30 cm(~12 in). I didn't get an official weight, but you can imagine how much it probably was and I can tell you it was a pain in the neck to move. Here it is after we shaved off one side.
 |
| The Bat Mantel beginning to take shape. |
Shaping the sides was done by cutting slits into the side of the wood with a chainsaw and then using a hammer and wedge to chisel off the remaining wood pieces as seen below. For one side, I tried using the hammer to knock off the slits of wood that remained after the chainsaw. This technique was quicker but it left a rougher surface that was harder to smooth down. After the sides were roughly cut we smoothed them down by running the chainsaw diagonally over the top but not cutting into the wood. it was done diagonally so the chain didn't get caught in any ruts from the initial cuts. Despite this, we still knocked the chain off more than a few times. Then I used a palm sander with rough and medium grit to get it to the finish I wanted. I kept it a little rough because it seemed to go with the look of the mantel.
 |
| The process for shaping the sides of the mantel |
 |
| The BAT MANtel and Batkid |
 |
| The Batkid helping on the BATMANtel |
 |
| The Batjudge forming the BATMANtel |
 |
| Men |
Below is the piece cut down to its final form and ready for shellacing.
 |
| BATMANtel in raw form |
I used a clear mid-gloss shellac (
link here) and I loved the way it came out. The apple had a darker inner core and the shellac really brought out the contrast.
 |
| Batjudge applying the first coat |
 |
| BATMANtel without shellac |
 |
| BATMANtel with shellac |
After 3-4 coats of shellac the BATMANtel was complete but then the arguably tougher task of hanging it began. As I mentioned before this thing is heavy. The final dimensions were 14 x 24 x 130 cm (5.5" x 9.5" x 52") and I estimate about 30 kg (66 lbs). And since the Batwife does not like her Batlings being crushed by awe-inspiring woodwork I had to ensure that it would stay on the wall.
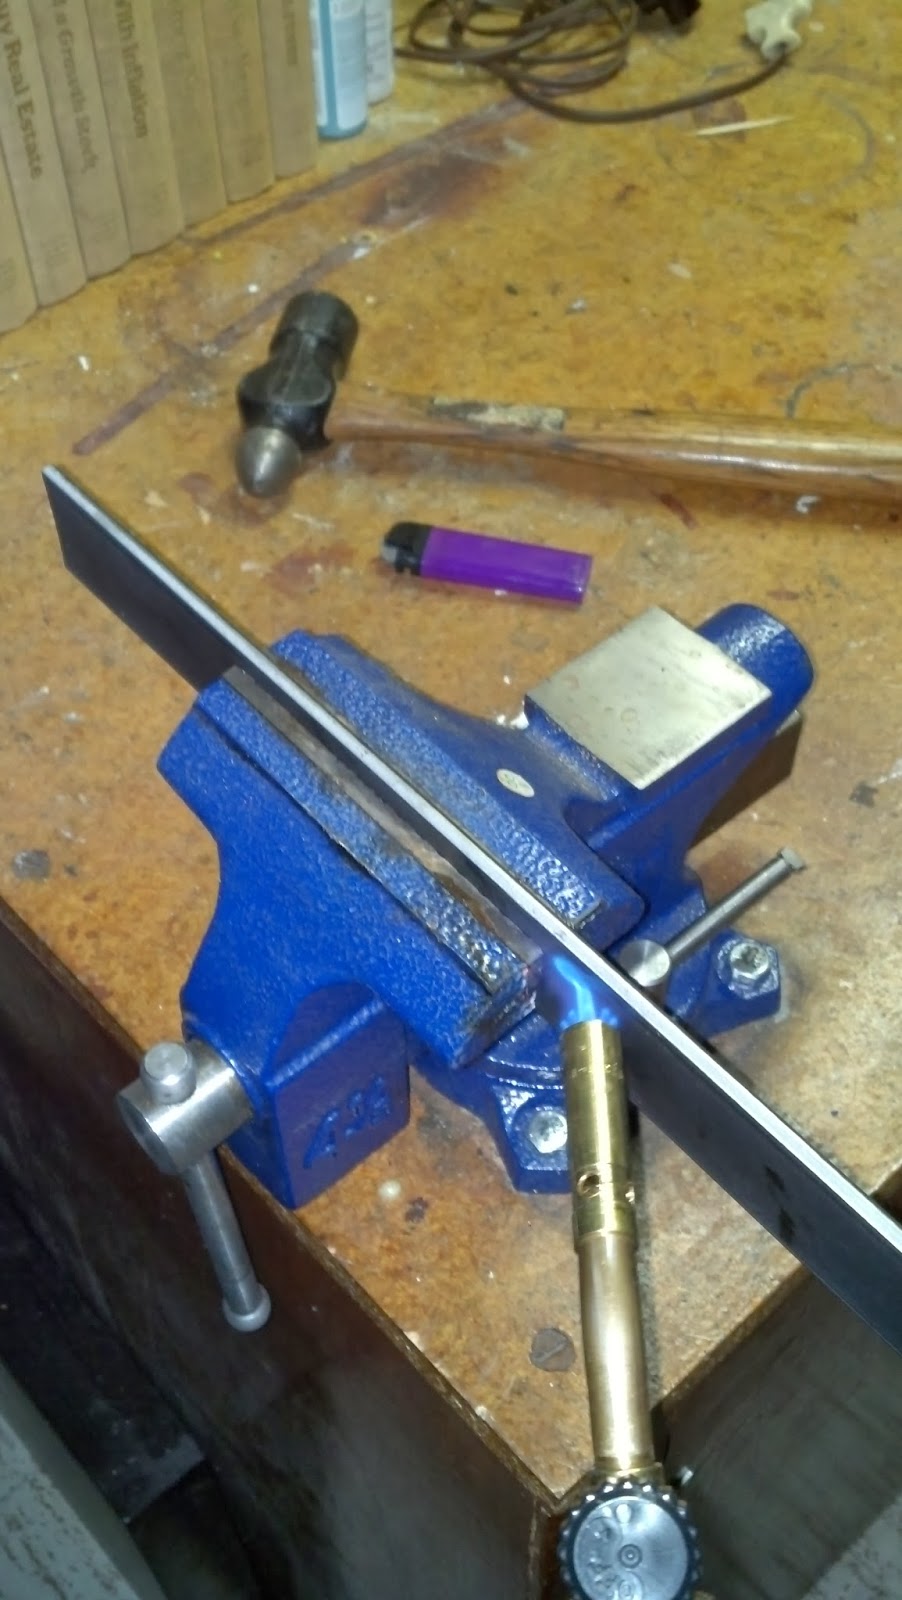
So that meant fire, steel, and making my own brackets. I got two pieces of 3/8" steel strips from Home Depot. I measured from a few centimeters above the BATMANtel, around the bottom, and then added about 2 cm to form a lip on the front. Then I cut the length of steel I needed with a hacksaw and filed down the cut end. Making two bends in the steel was tricky because I had to learn how to bend metal but the BatDad is intimidated by nothing. I put the steel in a vise just about to the point of where I wanted the bend, leaving some space to allow for the bend. The setup can be seen below.
 |
| The beginnings of the bracket |
I found that the hotter I got the metal the easier it was to bend and the sharper I could make the bend. Also bending the steel by hitting it with the hammer also made a sharper bend than bending it by hand. After letting the steel cool slowly, I drilled holes in the top of each breaking a bit along the way. Then I connected the brackets to the wall using metal sleeve masonry anchors similar to
these.
Below shows some final pictures of the hung BATMANtel. It held with 2 brackets but I went with 3 brackets to give it a good safety factor.
 |
| BATMANtel front: one sleeve anchor at the top of each bracket. |
 |
| BATMANtel left side |
 |
| BATMANtel right side |
 |
| BATMANtel front 2 |


